Its been a long, exciting, overwhelming holiday week for the Bird family. Our furnace fan decided to go out 3 days before Christmas. Luckily, we have SEVERAL great friends who offered heaters etc. to keep us comfortable for the short time before my dad surprised us, who came from Austin TX the night before Christmas Eve & he fixed our furnace before we froze to death. THANK GOODNESS because now, there is snow outside. Snow. In Memphis. Thats right. I’m shocked too. Anyway, I wanted to make some comfort food before the family heads out south bound again. White Chili it is. I am here to share it with you! This one is an adaptation from my kitchen when i was unsuccessful at finding a recipe catered to my tastebuds. 😉
White Chili
4 large boneless, skinless chicken breasts
half a yellow onion, chopped and sautéed
1 can of black beans, rinsed and drained
1 can of whole kernel corn (do not drain)
1 can of Mexican Rotel (do not drain)–let me again stress the importance of using the MEXICAN kind with the blue label
1/2 cup of water
1 chicken bouillon cube
1 packet of ranch seasoning
1 teaspoon of cumin
1/4 teaspoon of white pepper
1 teaspoon of onion powder
1 1/2 tablespoon of chili powder
1 (8 ounce) block of light cream cheese
4 ounces of monterey jack cheese, shredded
Two things to keep in mind if you plan to continue reading. One: if you notice, the ingredients in my pictures are doubled (i was cooking for a larger than usual crowd.) If you’re just cooking for your immediate family, the measurements in THIS recipe will be adequate. If you’re having company though, I would suggest you double your batch too.
Two: I decided a little late that I would be including this recipe in my blog (I still find myself beginning to cook without thinking about the pictures I’m supposed to take) so missing are pictures of chopped & sautéed onion & raw chicken breasts. (Not that anyone would enjoy looking at a picture of that anyway.) Gross.
Moving on.
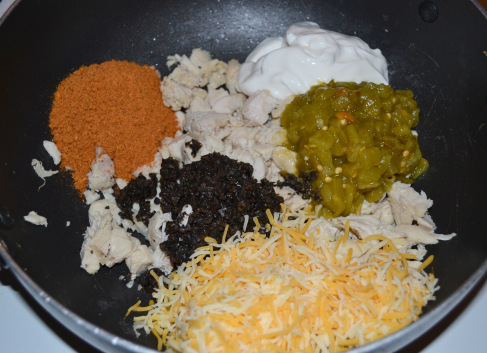
Gather your STUFF.

Just like everything else i make, I am sure to season and refrigerate my chicken breasts to let them “marinate” for a couple of hours, if you will. (Poultry spices, Lowry’s seasoning, several chicken bouillon cubes, a little garlic, a little vegetable oil, and some water to not quite cover the chicken.)
[insert imaginary picture of seasoned, raw chicken here.]–or don’t.
First, chop & sauté your onion.
[insert picture of onion here]–I will, the next time i sauté & capture the moment for another post.
Throw your sautéed onions into the bottom of a crock pot & put your chicken (drained of any liquid) on top of the onion.
Pour the corn, black beans, Rotel, and water on top of the meat.

Then add the rest of the spices-bouillon cube, ranch seasoning, cumin, white pepper, and chili powder.

Mix it all up. Shred your monterey cheese (avoiding slicing your knuckles, which seems to be the only thing i can do professionally). Put your cream cheese and monterey on top & leave it as is, like so.

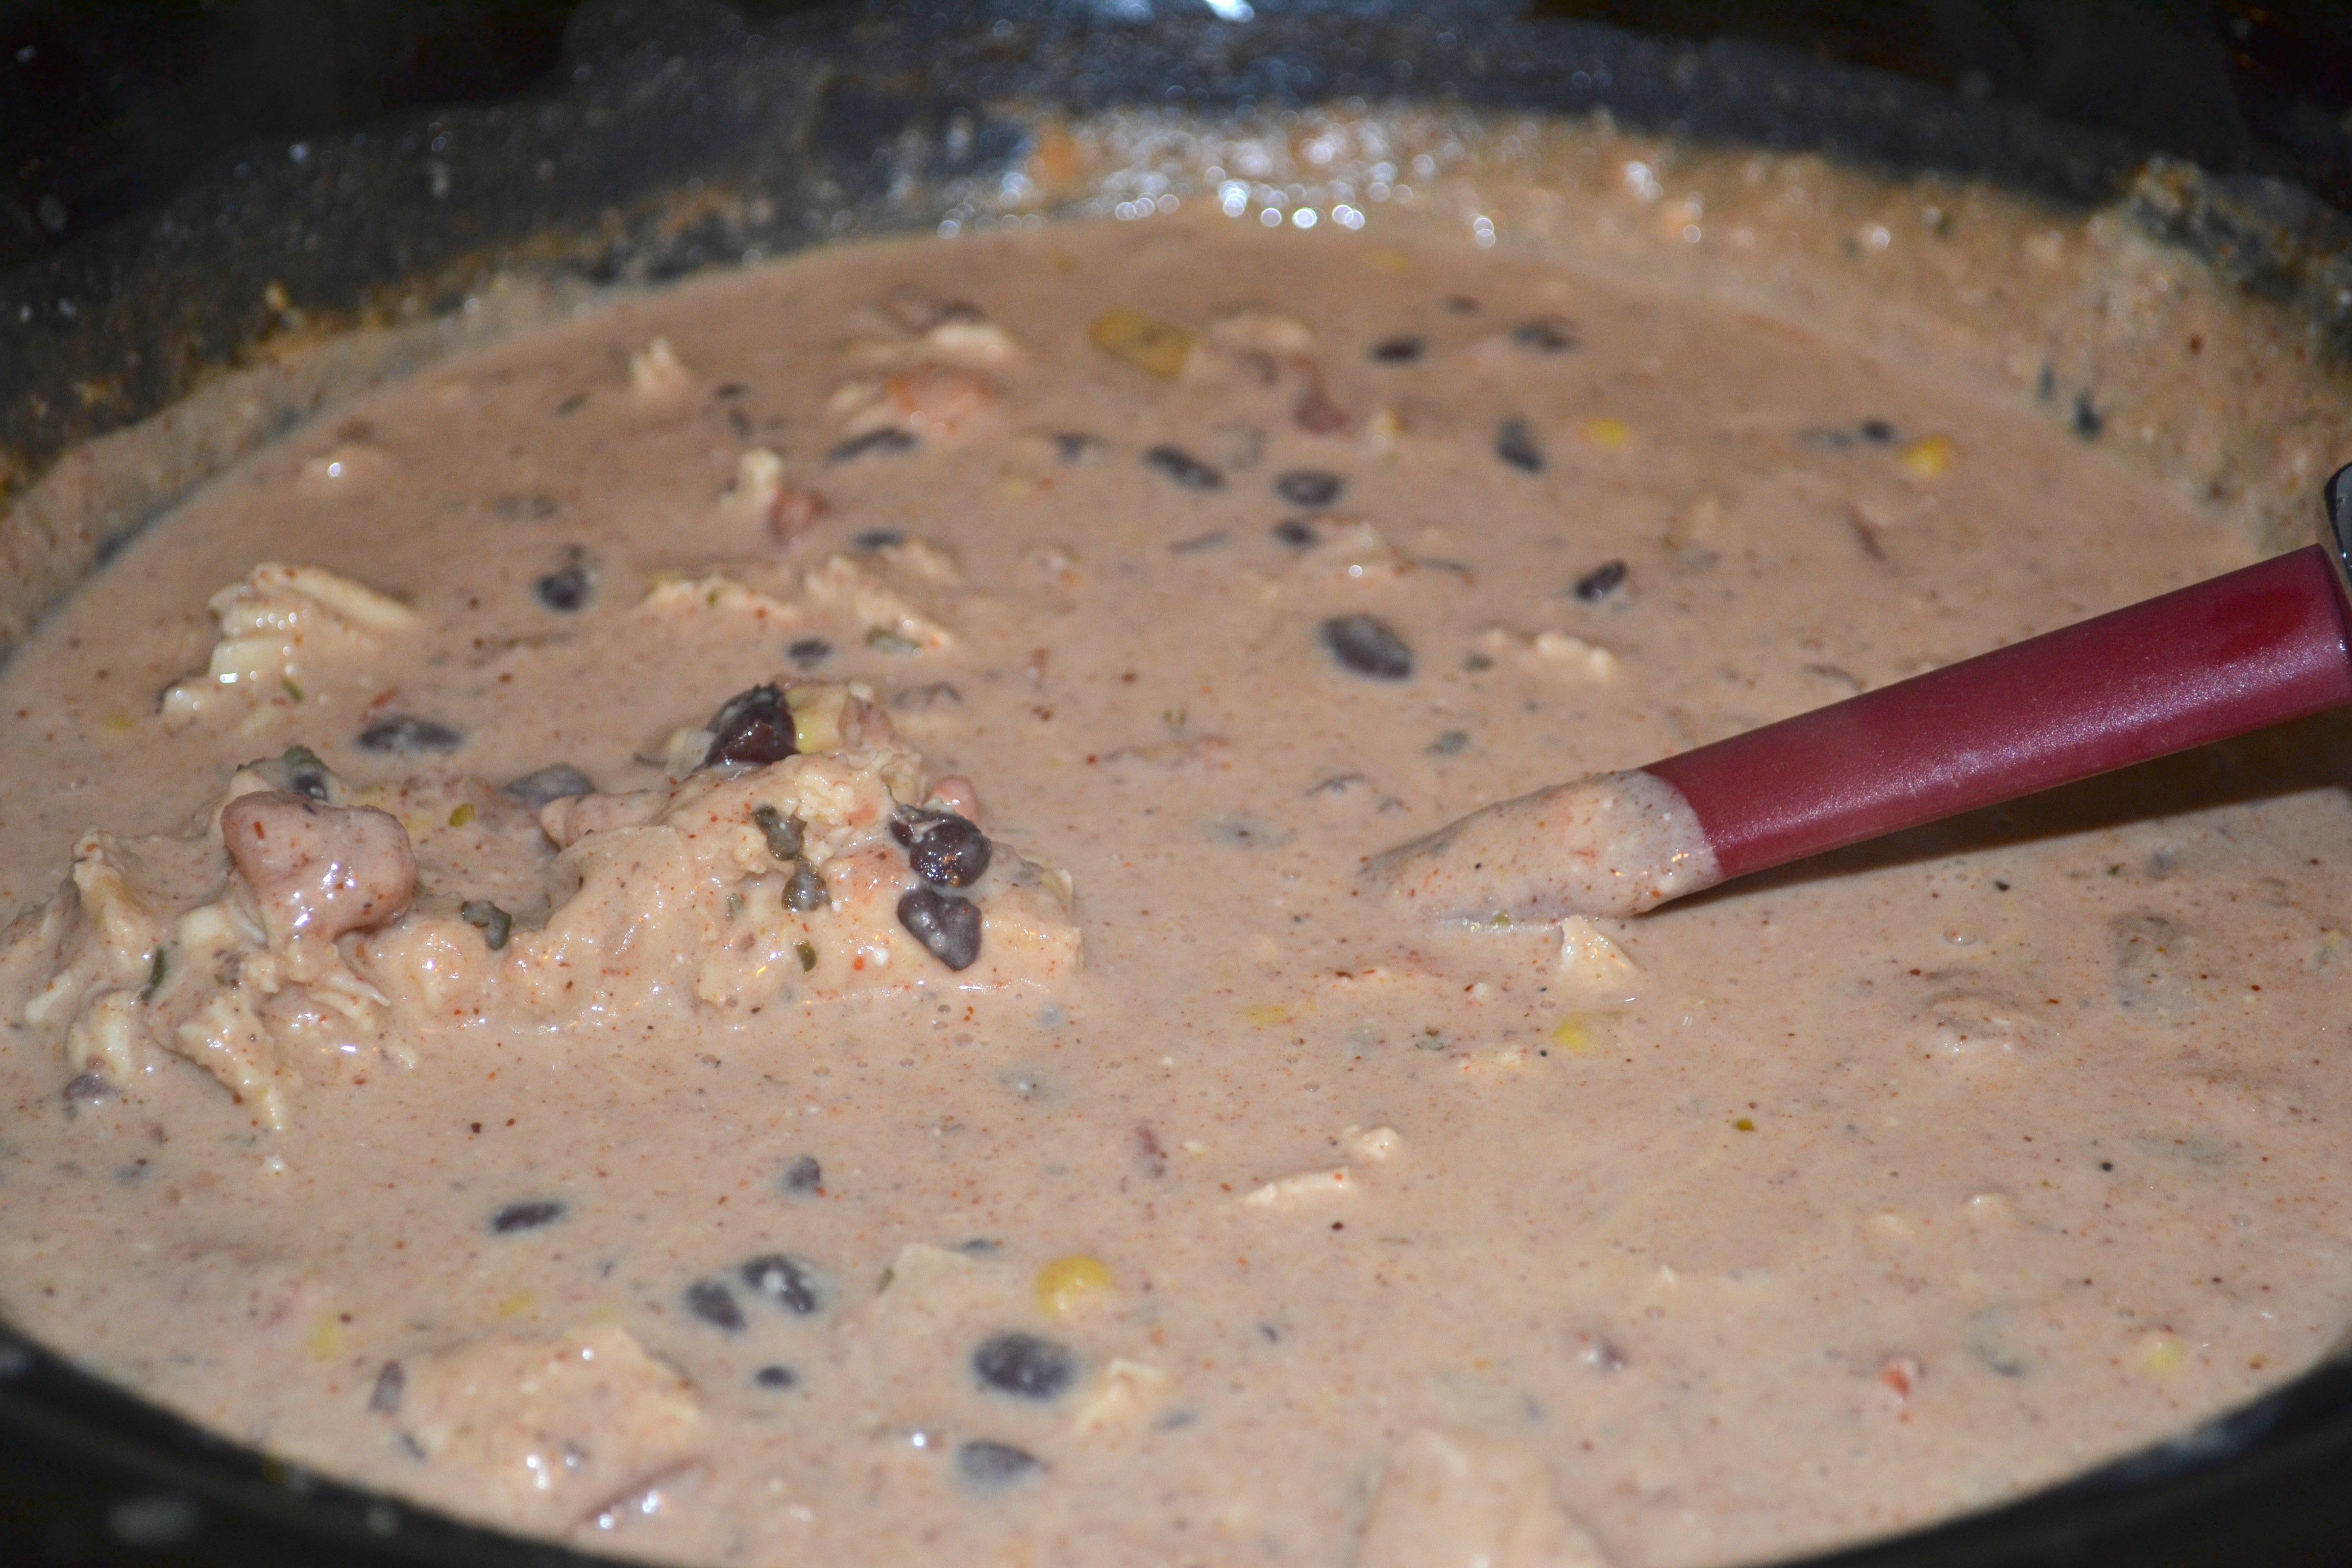
If you’ve got 6-8 hours, cook it on low. If you’re like me and procrastinate on getting the necessary ingredients from the store, set it on high for 2-3 hours instead. after that window, you can stir the cheese in. You’ll also want to shred the chicken with two forks.

When completed, it should resemble this. (i know, this stuff doesn’t photograph very well but it IS amazing!
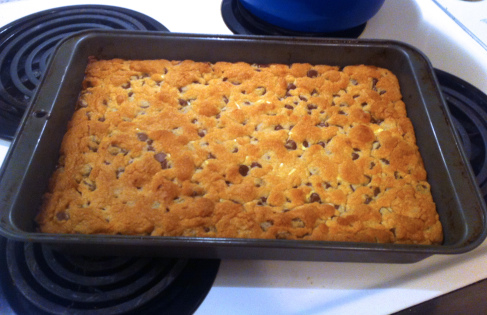
This chili is fantastic with some super simple corn muffins I make with a box of Jiffy corn muffin mix, a small can of creamed corn (instead of milk, which it calls for), & an egg (thanks mom!). Its only 50 cents a box & tastes like a whole new muffin when you add the corn to it. Try it! You won’t regret it!

My husband loves his topped with (more) onions & he dips tortilla chips in it. Also a winner! (he even set this picture up for me.) Note: delicately arranged accent tortilla chips. Hahaha I love that man.

Thanks again for reading!
-Mrs. B